相比于博客网站(如:CSDN、简书、Hexo搭建的个人博客等),个人感觉GitBook更能做一些系列型的技术存档与学习,
前者更适合做一些笔记的整理和技术分享,而GitBook的作用相当于将这些笔记做了一些归纳,类似电子书的方式。
对于查询资料和文档整理会更好些,当然,工具的使用因人而异。
1.环境安装
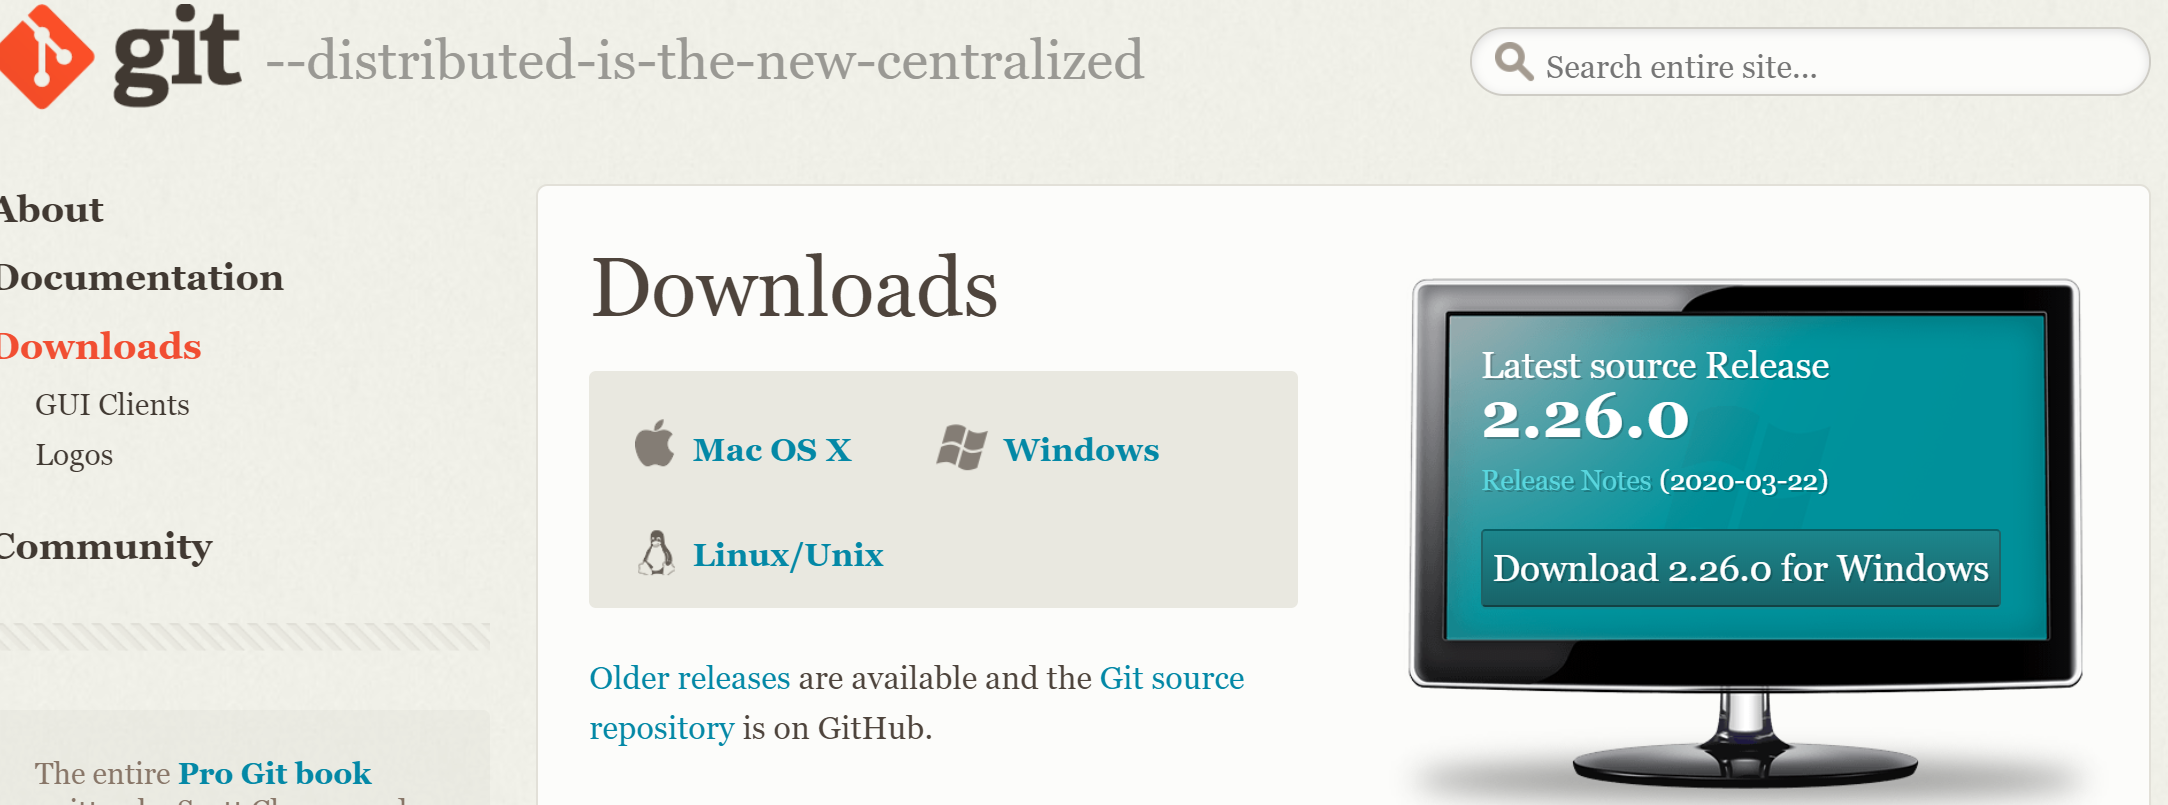
使用之前,先确保安装了 Git 和 Node.js。
1.1.安装 Git 工具
传送门:Git 下载

检查环境变量,将 Git 加入系统环境变量,做一些简单的配置:
1
2
3
4
5
6
|
git config --global user.name "username"
git config --global user.email "email@example.com"
ssh-keygen -t rsa -b 4096 -C "email@example.com"
|
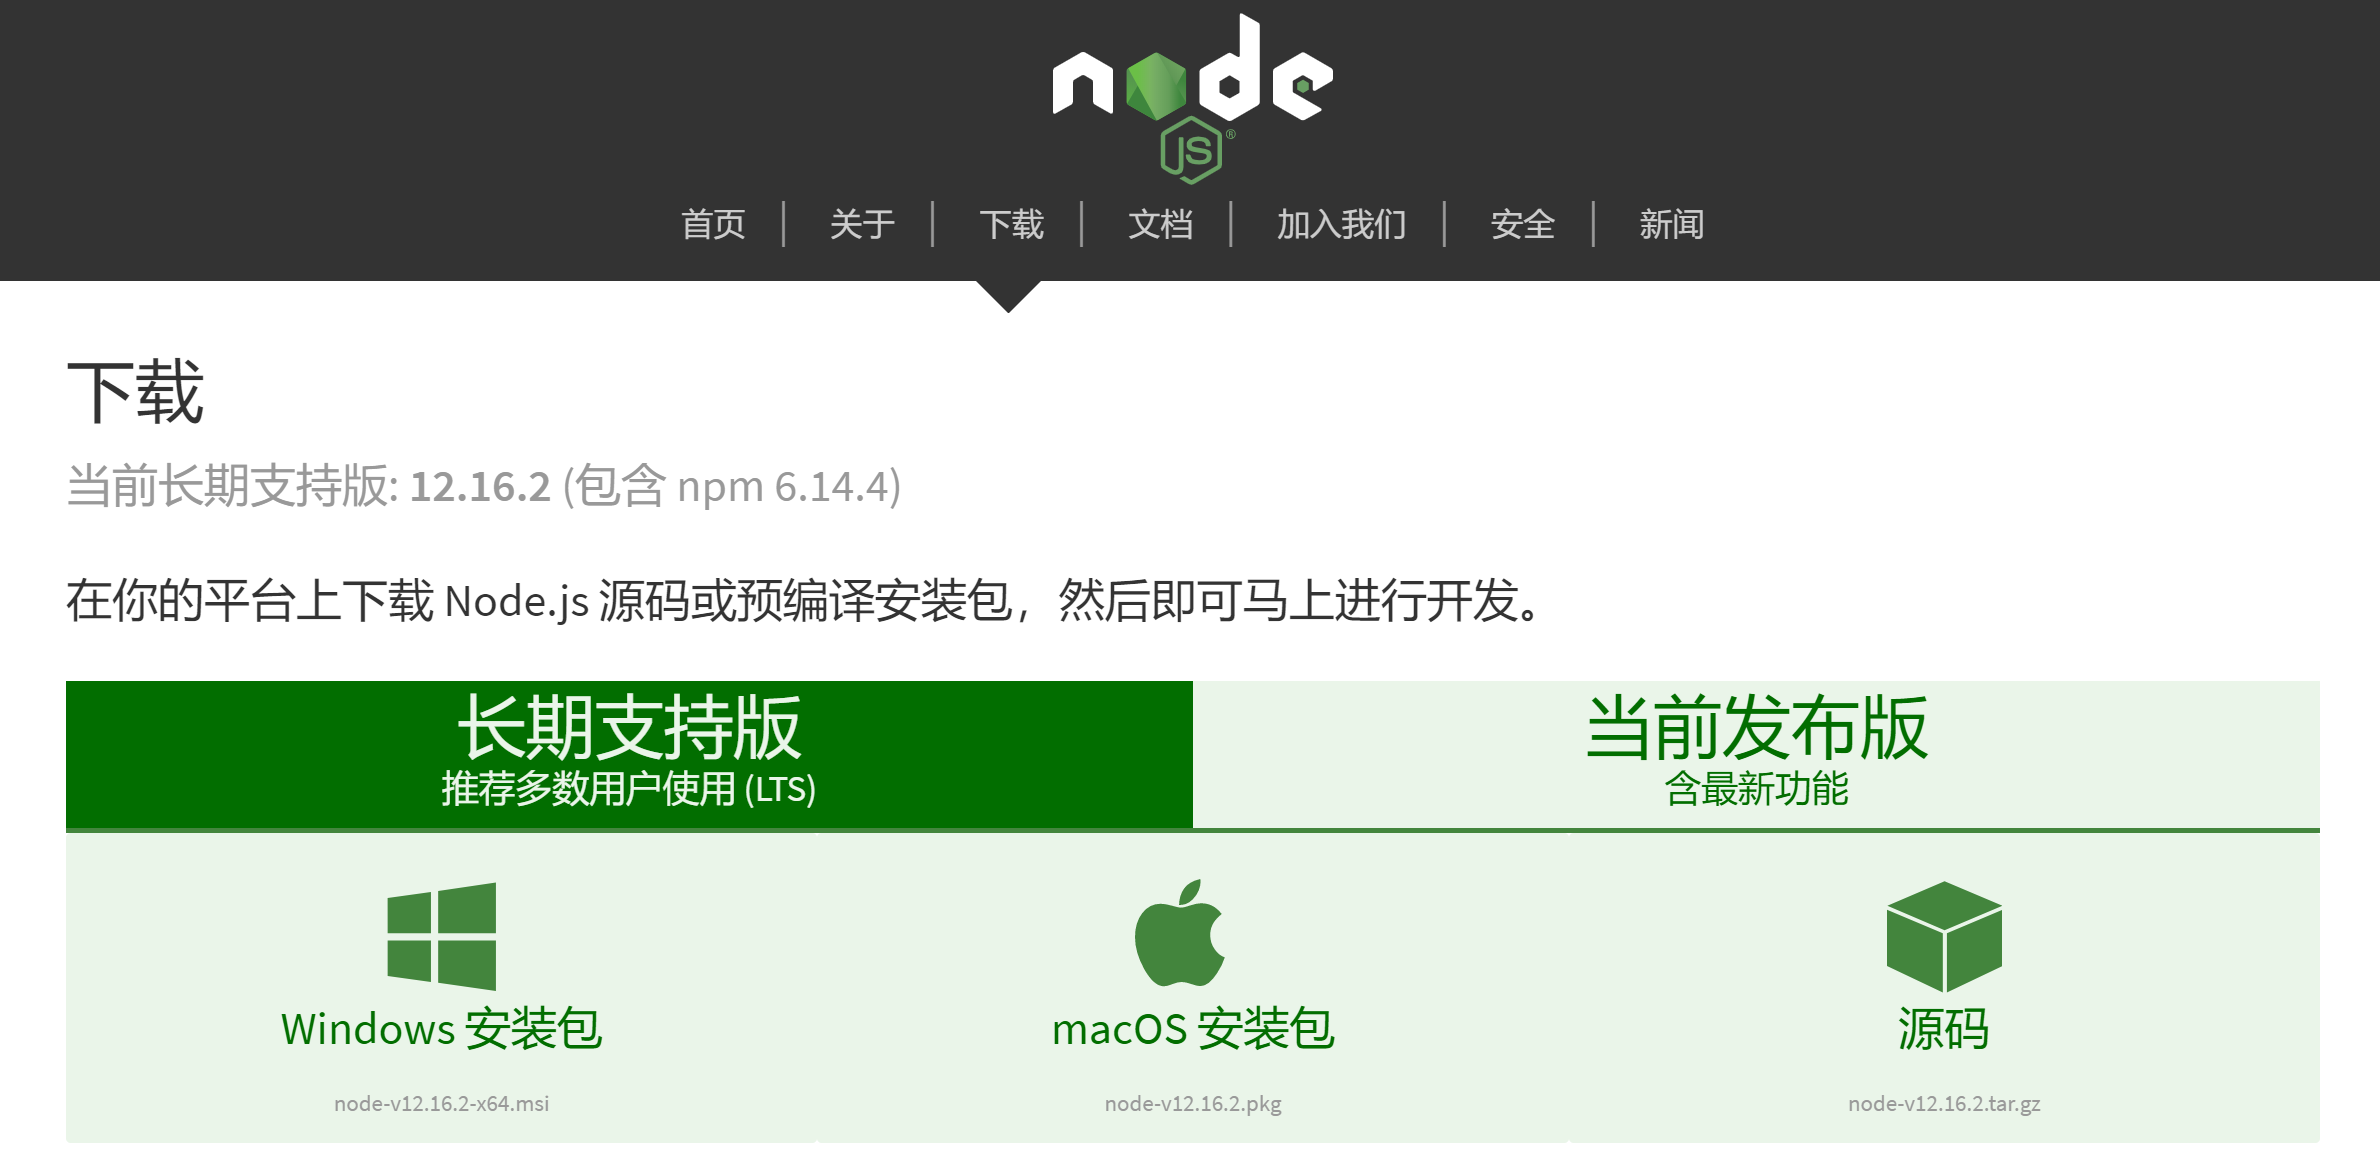
1.2.安装 Node.js 环境
传送门:Node.js 下载

选好版本下载、安装完成后,同样将程序加入环境变量。
检查安装结果:
1.3.安装 GitBook
官网:GitBook
安装 GitBook 插件:
1
| npm install gitbook-cli -g
|
检查版本:
1
2
3
| $ gitbook -V
CLI version: 2.3.2
GitBook version: 3.2.3
|
2.简单使用
2.1.初始化图书目录
在图书目录,打开 gitbash 或者 DOS 窗口,输入:
1
2
3
4
5
| $ gitbook init
warn: no summary file in this book
info: create README.md
info: create SUMMARY.md
info: initialization is finished
|
此时,目录下会生成 README.md 和 SUMMARY.md 这两个文件。
前者是 图书说明文档,后者是目录章节配置文档。
1
2
3
4
5
6
7
|
# Introduction
# Summary
* [Introduction](README.md)
|
2.2.一些简单操作
将要写的文章系列以 mrakdown 的形式生成,放到图书根目录下。
(1)、将 .md 文件转成页面文件 .html,运行 命令:
此时,根目录中会生成 _book 目录,这是网站的静态资源目录。
(2)、本地运行,在网页显示GitBook页面内容,运行 命令:
1
| gitbook serve --port=xxxx
|
此时,浏览器输入网址: http://localhost:xxxx,即可打开本地部署的网站。
(3)、命令帮助
命令行输入以下命令,会显示 gitbook 的 帮助信息:
(4)、安装插件
命令行输入:
1
| npm install <gitbook-plugin-xxx>
|
(5)、更新和卸载
命令行输入:
1
2
3
4
5
|
gitbook update
gitbook uninstall <version>
|
2.3.配置 book.json 文件
根目录下,新建文件 book.json,内容如下:
1
2
3
4
5
6
7
8
9
10
11
12
13
14
15
16
17
18
19
20
21
| {
"title" : "标题",
"author": "作者",
"description": "描述",
"extension": null,
"generator": "site",
"language" : "zh-hans",
"links": {
"sharing": {
"all": null,
"facebook": null,
"google": null,
"twitter": null,
"weibo": null
},
"sidebar": {
"个人主页": "网址"
}
},
"variables": {}
}
|
3.GitBook 部分常用插件
book.json 插件配置:
- 插件放置在
plugins 数组中。
- 插件配置在
pluginsConfig 字典中。
3.1.expandable-chapters 章节导航扩展
1
2
3
4
5
| {
"plugins": [
"expandable-chapters"
]
}
|
1
2
3
| {
"plugins": ["copy-code-button"]
}
|
3.3. search-plus 页面搜索
1
2
3
| {
"plugins": ["search-plus"]
}
|
3.4.右上角添加 github 图标
1
2
3
4
5
6
7
8
9
10
| {
"plugins": [
"github"
],
"pluginsConfig": {
"github": {
"url": "https://github.com/{github-id}"
}
}
}
|
3.5.splitter 侧边栏宽度可调节
1
2
3
| {
"plugins": ["splitter"]
}
|
3.6.sharing-plus 分享
1
2
3
4
5
6
7
8
9
10
11
12
13
14
15
16
17
18
19
| {
"plugins": ["-sharing", "sharing-plus"],
"pluginsConfig": {
"sharing": {
"douban": false,
"facebook": false,
"google": true,
"pocket": false,
"qq": false,
"qzone": true,
"twitter": false,
"weibo": true,
"all": [
"douban", "facebook", "google", "instapaper", "linkedin","twitter", "weibo",
"messenger","qq", "qzone","viber","whatsapp"
]
}
}
}
|
3.7.page-copyright 页面页脚版权
1
2
3
4
5
6
7
8
9
10
11
12
13
14
15
16
17
| {
"plugins" : ["page-copyright"],
"pluginsConfig" : {
"page-copyright": {
"description": "modified at",
"signature": "你的签名",
"wisdom": "Designer info",
"format": "YYYY-MM-dd hh:mm:ss",
"copyright": "Copyright © 你的名字",
"timeColor": "#666",
"copyrightColor": "#666",
"utcOffset": "8",
"style": "normal",
"noPowered": false,
}
}
}
|
3.8.anchor-navigation-ex 悬浮目录与置顶
1
2
3
4
5
6
7
8
9
10
11
12
13
14
15
16
17
18
19
20
21
22
23
24
25
26
27
28
| {
"plugins" : [
"anchor-navigation-ex"
],
"pluginsConfig": {
"anchor-navigation-ex": {
"showLevel": true,
"associatedWithSummary": true,
"printLog": false,
"multipleH1": true,
"mode": "float",
"showGoTop":true,
"float": {
"floatIcon": "fa fa-navicon",
"showLevelIcon": false,
"level1Icon": "fa fa-hand-o-right",
"level2Icon": "fa fa-hand-o-right",
"level3Icon": "fa fa-hand-o-right"
},
"pageTop": {
"showLevelIcon": false,
"level1Icon": "fa fa-hand-o-right",
"level2Icon": "fa fa-hand-o-right",
"level3Icon": "fa fa-hand-o-right"
}
},
}
}
|
3.9.donate 打赏
1
2
3
4
5
6
7
8
9
10
11
12
13
| {
"plugins" : [
"donate"
],
"donate": {
"wechat": "微信图片",
"alipay": "支付宝图片",
"title": "",
"button": "赏",
"alipayText": "支付宝打赏",
"wechatText": "微信打赏"
},
}
|
3.10.mygitalk 评论插件
1
2
3
4
5
6
7
8
9
10
11
12
13
| {
"plugins" : [
"mygitalk"
],
"mygitalk": {
"clientID": "gitalk id",
"clientSecret": "密钥",
"repo": "",
"owner": "GitHub id",
"admin": ["username"],
"distractionFreeMode": false
},
}
|
4.安装 gitbook 插件
命令行输入:
可能会比较慢,等待一会儿,安装完成后再重新构建页面和启动服务。
参考: GitBook 插件整理


