本文主要是关于 评论系统 在 hexo-yilia 主题中的添加和配置。使用主题: hexo-theme-yilia-plus
常用系统
目前hexo可用的评论系统比较多,如:畅言、来必力、Disqus、Gitment、gitalk、utterances、Giteement、valine等等。不过有些已关停服务。
这里列举五个hexo常用的评论系统:
1.Gitment配置
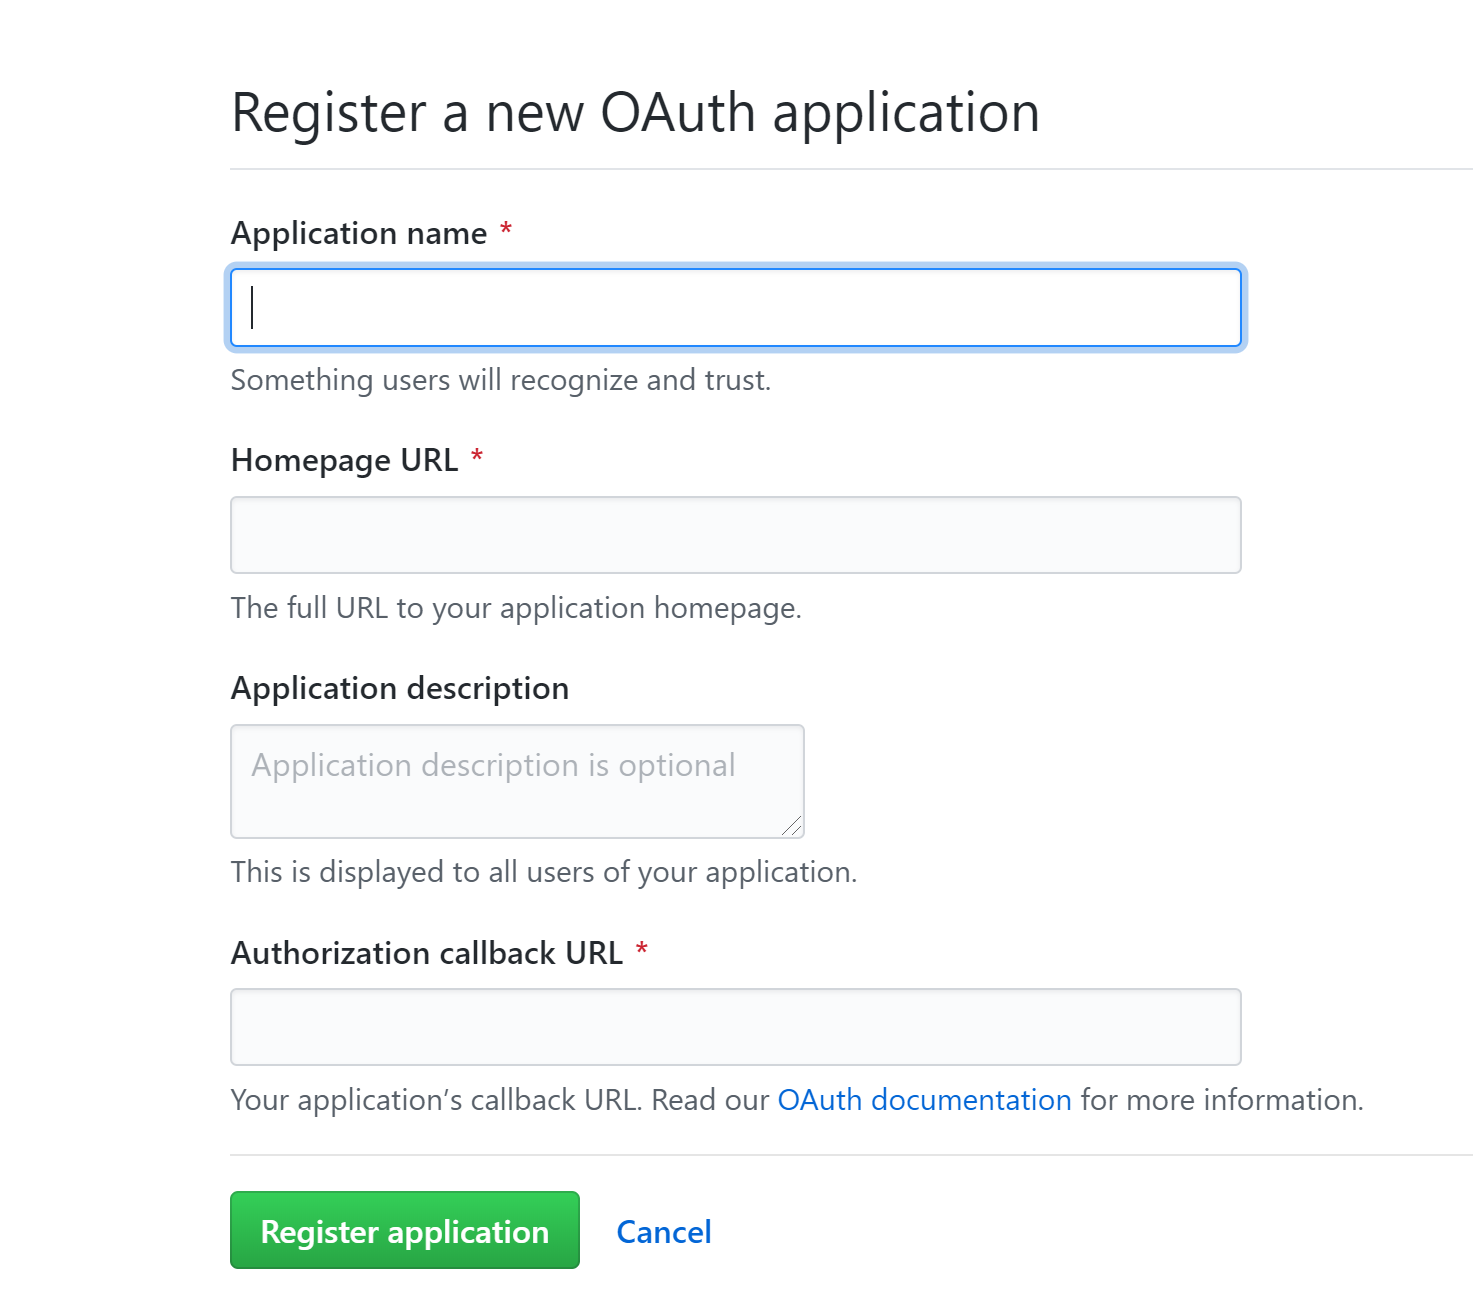
首先要注册 OAuth Application 当别人评论你的文章时,会需要它是授权。
注册成功后,会获取到 Client ID/scerct ,需要填入配置文件中。
打开文件 themes\yilia-plus\_config.yml , 修改配置:
1
2
3
4
5
6
| gitment_owner: ''
gitment_repo: '如:xxx.github.io'
gitment_oauth:
client_id: ''
client_secret: ''
|
在 themes\yilia-plus\layout\_partial\post 目录下,会默认有一个 gitment.ejs 文件,可以自定义样式
对应的 themes\yilia-plus\layout\_partial\article.ejs 文件,会有 gitment 相关的配置。
2.Gitalk配置
2.1.新建 gitalk.ejs 文件
与 gitment 类似配置,首先在 themes\yilia-plus\layout\_partial\post 目录下,新建 gitalk.ejs 文件,
添加如下内容:
1
2
3
4
5
6
7
8
9
10
11
12
13
14
15
16
17
18
19
20
| <div id="gitalk-container" style="padding: 0px 30px 0px 30px;"></div>
<link rel="stylesheet" href="https://cdn.jsdelivr.net/npm/gitalk@1/dist/gitalk.css">
<script src="https://cdn.jsdelivr.net/npm/gitalk@1/dist/gitalk.min.js"></script>
<script type="text/javascript">
if(<%=theme.gitalk.enable%>){
var gitalk = new Gitalk({
clientID: '<%=theme.gitalk.ClientID%>',
clientSecret: '<%=theme.gitalk.ClientSecret%>',
repo: '<%=theme.gitalk.repo%>',
owner: '<%=theme.gitalk.githubID%>',
admin: ['<%=theme.gitalk.adminUser%>'],
id: '<%= page.date %>',
distractionFreeMode: '<%=theme.gitalk.distractionFreeMode%>'
})
gitalk.render('gitalk-container')
}
</script>
|
在文件 themes\yilia\source-src\css\comment.scss 中,做如下修改:
1
2
3
4
5
6
7
8
9
10
11
| #disqus_thread, .duoshuo, .cloud-tie-wrapper, #SOHUCS, #gitment-ctn, #gitalk-container {
padding: 0 30px !important;
min-height: 20px;
}
#SOHUCS {
#SOHU_MAIN .module-cmt-list .block-cont-gw {
border-bottom: 1px dashed #c8c8c8 !important;
}
}
|
2.3.修改主题配置文件 _config.yml
打开文件 themes\yilia-plus\_config.yml , 修改配置:
1
2
3
4
5
6
7
8
| gitalk:
enable: true
githubID: ''
repo: ''
ClientID: ''
ClientSecret: ''
adminUser: ''
distractionFreeMode: true
|
2.4.在文件 article.ejs 中添加配置
打开 themes\yilia-plus\layout\_partial\article.ejs 文件,添加:
1
2
3
4
5
6
7
| <% if(theme.gitalk.enable){ %>
<%- partial('post/gitalk', {
key: post.slug,
title: post.title,
url: config.url+url_for(post.path)
}) %>
<% } %>
|
3.Utterance配置
3.1.授权Utterance应用能访问仓库的issues
即安装 Utterance 应用,点击 install utterances,选择需要安装的仓库。
3.2.fork项目
去 GitHub 上 fork Utterance项目,按照它的教程在 SITES.md 文件中注册你的博客网址,否则可能会配置失败。
3.3.修改主题配置文件 _config.yml
打开文件 themes\yilia-plus\_config.yml , 修改配置:
1
2
3
4
5
6
|
utterance:
enable: true
repo: ''
issue_term: 'title'
theme: 'github-light'
|
3.4.在文件 article.ejs 中添加配置
打开 themes\yilia-plus\layout\_partial\article.ejs 文件,添加:
1
2
3
4
5
6
7
8
9
10
11
12
13
14
| <% if (theme.utterance && theme.utterance.enable){ %>
<section id="comments" class="comments">
<style>
.utterances{max-width: 100%;}
</style>
<script src="https://utteranc.es/client.js"
repo="<%= theme.utterance.repo %>"
issue-term="<%= theme.utterance.issue_term %>"
theme="<%= theme.utterance.theme %>"
crossorigin="anonymous"
async>
</script>
</section>
<% } %>
|
4.Giteement配置
基于码云的评论系统,类似GitHub的配置
4.1.新建 giteement.ejs 文件
在 themes\yilia-plus\layout\_partial\post 目录下,新建 giteement.ejs 文件,添加如下内容:
1
2
3
4
5
6
7
8
9
10
11
12
13
14
15
16
17
18
19
20
21
22
23
24
25
26
27
28
| <% if (!index && post.comments && theme.giteement && theme.giteement.enable){ %>
<div id="giteement-ctn"></div>
<% if (theme.giteement && theme.giteement.remote){ %>
<!-- <link rel="stylesheet" href="https://giteement.oss-cn-beijing.aliyuncs.com/wd-discuss.css"> -->
<link rel="stylesheet" href="https://giteement.oss-cn-beijing.aliyuncs.com/default.css">
<script src="https://giteement.oss-cn-beijing.aliyuncs.com/giteement.browser.js"></script>
<% } else { %>
<link rel="stylesheet" href="<%- url_for('lib/default.css') %>">
<script src="<%- url_for('lib/giteement.browser.js') %>"></script>
<% } %>
<script>
var giteement = new Giteement({
id: '<%=page.date.format('YYYYMMDDHHmmss')%>',
owner: '<%=theme.giteement.giteeID%>',
repo: '<%=theme.giteement.repo%>',
backcall_uri: '<%=theme.giteement.redirect_uri%>',
oauth_uri: '<%=theme.giteement.oauth_uri%>',
oauth: {
client_id: '<%=theme.giteement.gitment_oauth.client_id%>',
client_secret: '<%=theme.giteement.gitment_oauth.client_secret%>'
},
})
giteement.render('giteement-ctn')
</script>
<% } %>
|
4.2.修改主题配置文件 _config.yml
打开文件 themes\yilia-plus\_config.yml , 修改配置:
1
2
3
4
5
6
7
8
9
10
11
12
13
| giteement:
enable: true
remote: false
redirect_uri: ''
oauth_uri: https://cors-anywhere.herokuapp.com/https://gitee.com/oauth/token
giteeID: ''
repo: yilia-plus-demo
gitment_oauth:
client_id: '*********'
client_secret: '*********'
|
4.3.在文件 article.ejs 中添加配置
打开 themes\yilia-plus\layout\_partial\article.ejs 文件,添加:
1
2
3
4
5
6
7
| <% if (theme.giteement && theme.giteement.enable){ %>
<%- partial('post/giteement', {
key: post.slug,
title: post.title,
url: config.url+url_for(post.path)
}) %>
<% } %>
|
5.Valine配置
5.1.注册 LeanCloud
先到 leancloud进行注册、创建应用等等,页面有帮助教程。
到【设置】-【应用keys】,找到 AppID 和 AppKey ,配置需要。
5.2.部署云引擎
- 在Leancloud 【云引擎】-【设置】界面,创建代码仓库,并保存:
https://github.com/DesertsP/Valine-Admin.git
- 设置环境变量
- 部署(分支选master)
可参考:Valine配置手册
5.3.新建 valine.ejs 文件
在 themes\yilia-plus\layout\_partial\post 目录下,新建 valine.ejs 文件,添加如下内容:
1
2
3
4
5
6
7
8
9
10
11
12
13
14
15
16
17
18
19
20
| <div class="valine_comment"></div>
<script src="//cdn1.lncld.net/static/js/3.0.4/av-min.js"></script>
<script src="//unpkg.com/valine/dist/Valine.min.js"></script>
<script>
var notify = '<%= theme.valine.notify %>' == true ? true : false;
var verify = '<%= theme.valine.verify %>' == true ? true : false;
new Valine({
av: AV,
el: '.valine_comment',
emoticon_url: 'https://cloud.panjunwen.com/alu',
emoticon_list: ["狂汗.png","不说话.png","汗.png","坐等.png","献花.png","不高兴.png","中刀.png","害羞.png","皱眉.png","小眼睛.png","暗地观察.png"],
app_id: '<%= theme.valine.appid %>',
app_key: '<%= theme.valine.appkey %>',
placeholder: '<%= theme.valine.placeholder %>'
});
</script>
|
5.4.修改主题配置文件 _config.yml
打开文件 themes\yilia-plus\_config.yml , 修改配置:
1
2
3
4
5
6
7
8
9
|
valine:
appid: ''
appkey: ''
verify: false
notify: true
avatar: mm
placeholder: 欢迎您的评论~
|
5.5.在文件 article.ejs 中添加配置
打开 themes\yilia-plus\layout\_partial\article.ejs 文件,添加:
1
2
3
4
5
6
7
8
9
| <% if (theme.valine && theme.valine.appid && theme.valine.appkey){ %>
<section id="comments" style="margin:10px;padding:10px;background:#fff;">
<%- partial('post/valine', {
key: post.slug,
title: post.title,
url: config.url+url_for(post.path)
}) %>
</section>
<% } %>
|